Standard X-RAY
With X-ray and Gamma Ray is possible to detect a great number of discontinuities such as porosity, inclusions, blowing, cracks, woodworm and loss of penetration which are present in industrial manufactures or welding.
This method is based on the modification suffered from the electromagnetic radiation when they meet a defect during their way inside the material.
X-ray and Gamma-ray passing through the material, imprint a photographic film located behind the object to be examined.
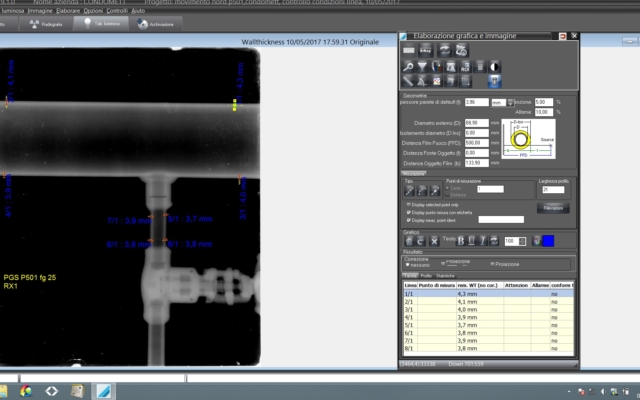
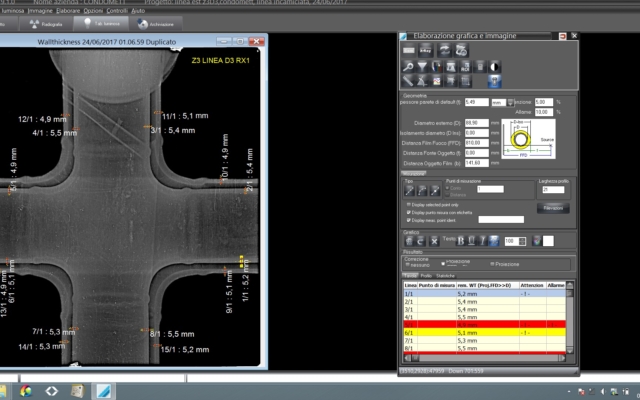
The X-ray development produces a two dimensional projection of the object radiographed. In this image all the variation of thickness, composition of the object are visualized as density variation of the image. The evaluation is performed comparing the radiographic density with the normal known characteristics of the object or with radiographic acceptable standard produced by the same object.
Condomett has different radiographic sources to inspect very high thicknesses:
- n°02 Co 60 radioactive sources
- n°09 Ir 192 radioactive sources
- n°03 Se 75 radioactive sources
- n°04 Rx equipment
In both of our headquarters, there are:
- n°03 Radiographic bunkers
- n°02 Radiographic mobile unit to develop film on the workplace to optimize the working time
DIGITAL RADIOGRAPHY
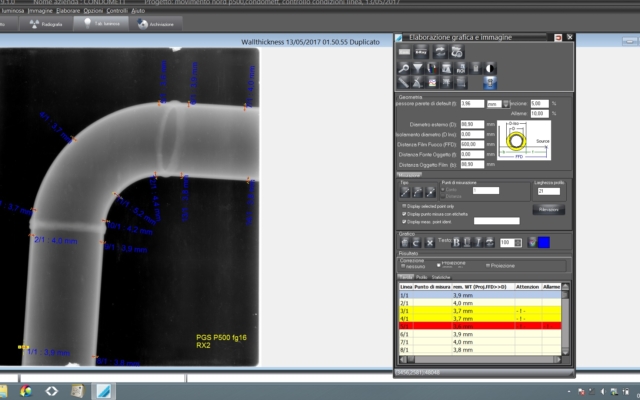
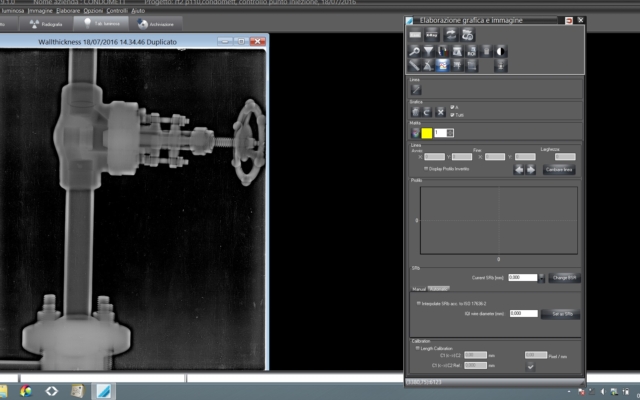
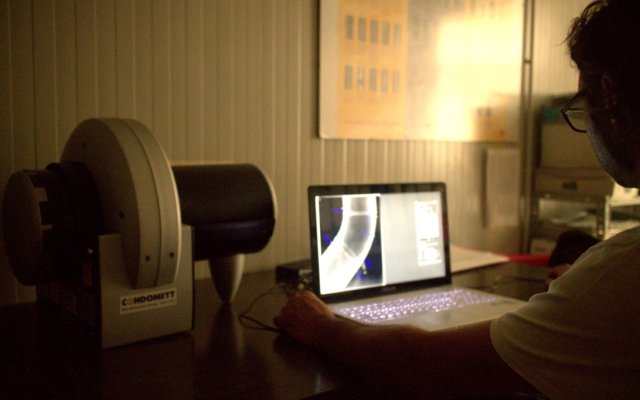
Digital radiography has been introduced to store in an easily way all the radiographic films and to elaborate the image after exposure. A main difference with standard radiography is the possibility to use films for several times. A laser scanner is necessary to transmit all the images to a monitor.


